One way to improve the quality and speed of your Android application is by implementing CI/CD processes. This allows teams to focus on development of new features and ensure that any code written is tested before it is automatically deployed to its relevant platforms
Continuous Integration (CI) and Continuous Delivery (CD) are processes to help improve software development teams by automating the way projects are built, packaged, tested and deployed.
One of the most common CI/CD tools is Jenkins, an open-sourced piece of software with various different plugins that can help developers create pipelines that build, run, test and deploy code regardless of the type of application they are creating.
Docker is an open-sourced piece of software that allows the creation of “Containers” that developers can run their applications on. Containers are a standardized unit of software that allows developers to isolate their app from its environment, solving the “it works on my machine” headache.
In this two-part series of articles, we’ll be looking into how you can setup a Jenkins pipeline that uses Docker to build, test and deploy an Android application to the Google Play Store.
SETTING UP JENKINS
There are different ways you can setup and run Jenkins, from installing locally to running a Jenkins VM on a cloud provider such as AWS or GCP. In this blog we will run Jenkins locally on our machine for simplicity.
First install Jenkins, the official site provides documentation on how to do this depending on your environment here.
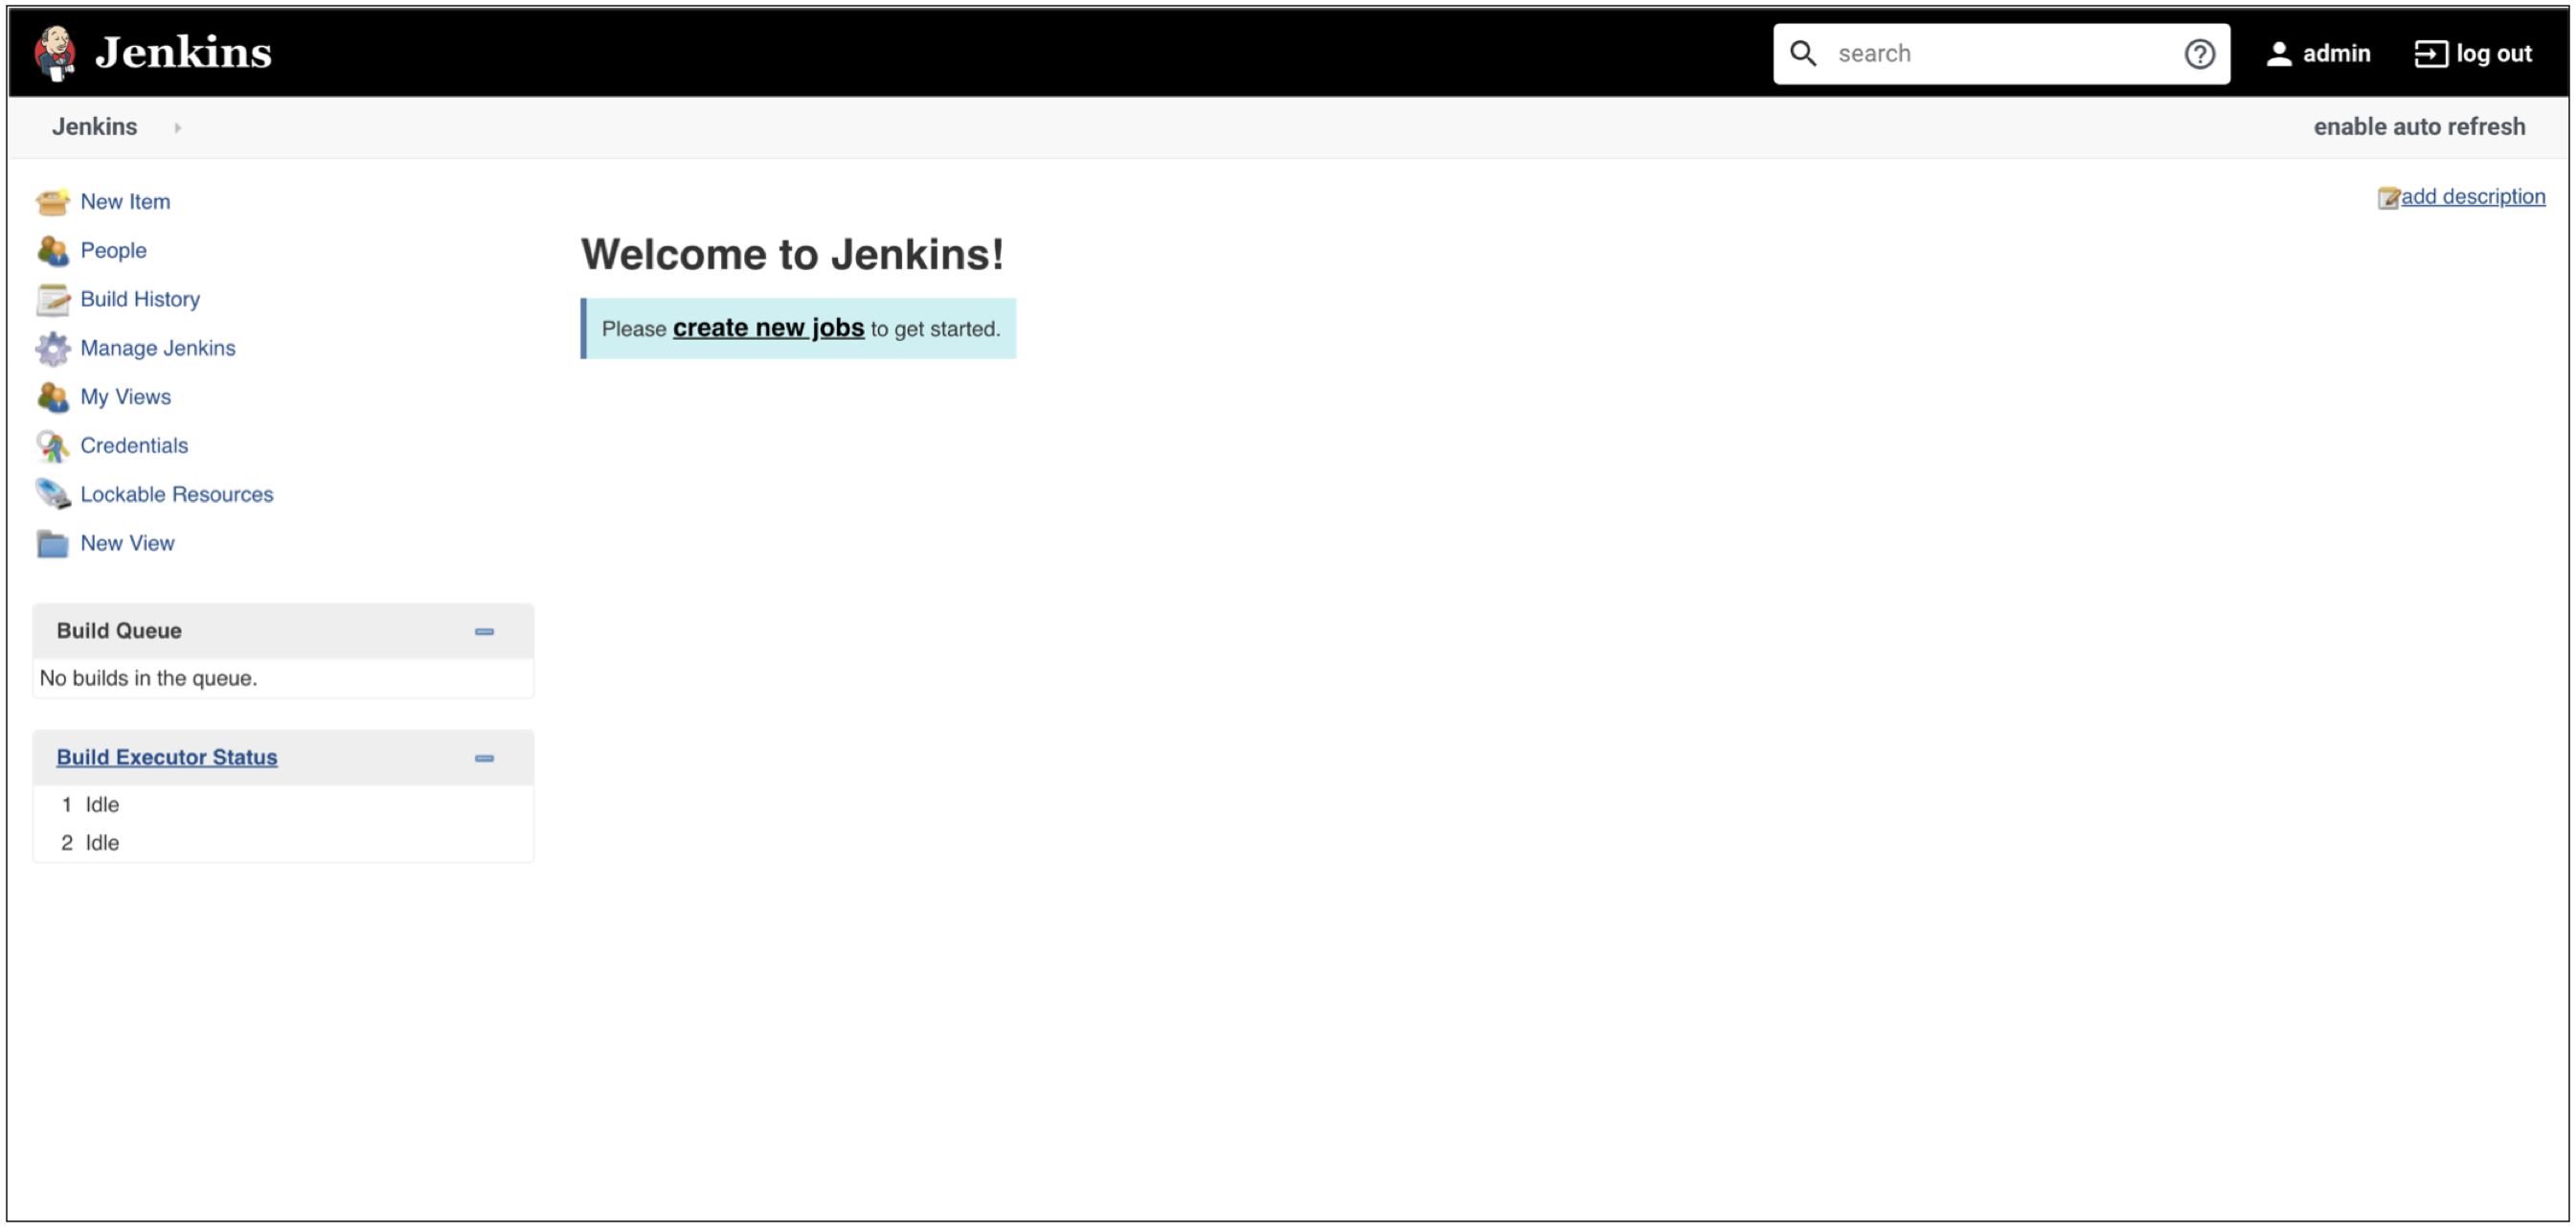
Once installed and running you can access the UI for you Jenkins service by navigating to http://localhost:8080 in your browser to finish the setup of Jenkins.
You should now see the Jenkins dashboard.
You will also need to install the following plugins by going to “Manage Jenkins” > “Manage Plugins”
- – Docker Commons Plugin
- – Docker Pipeline
- – Google Play Android Publisher
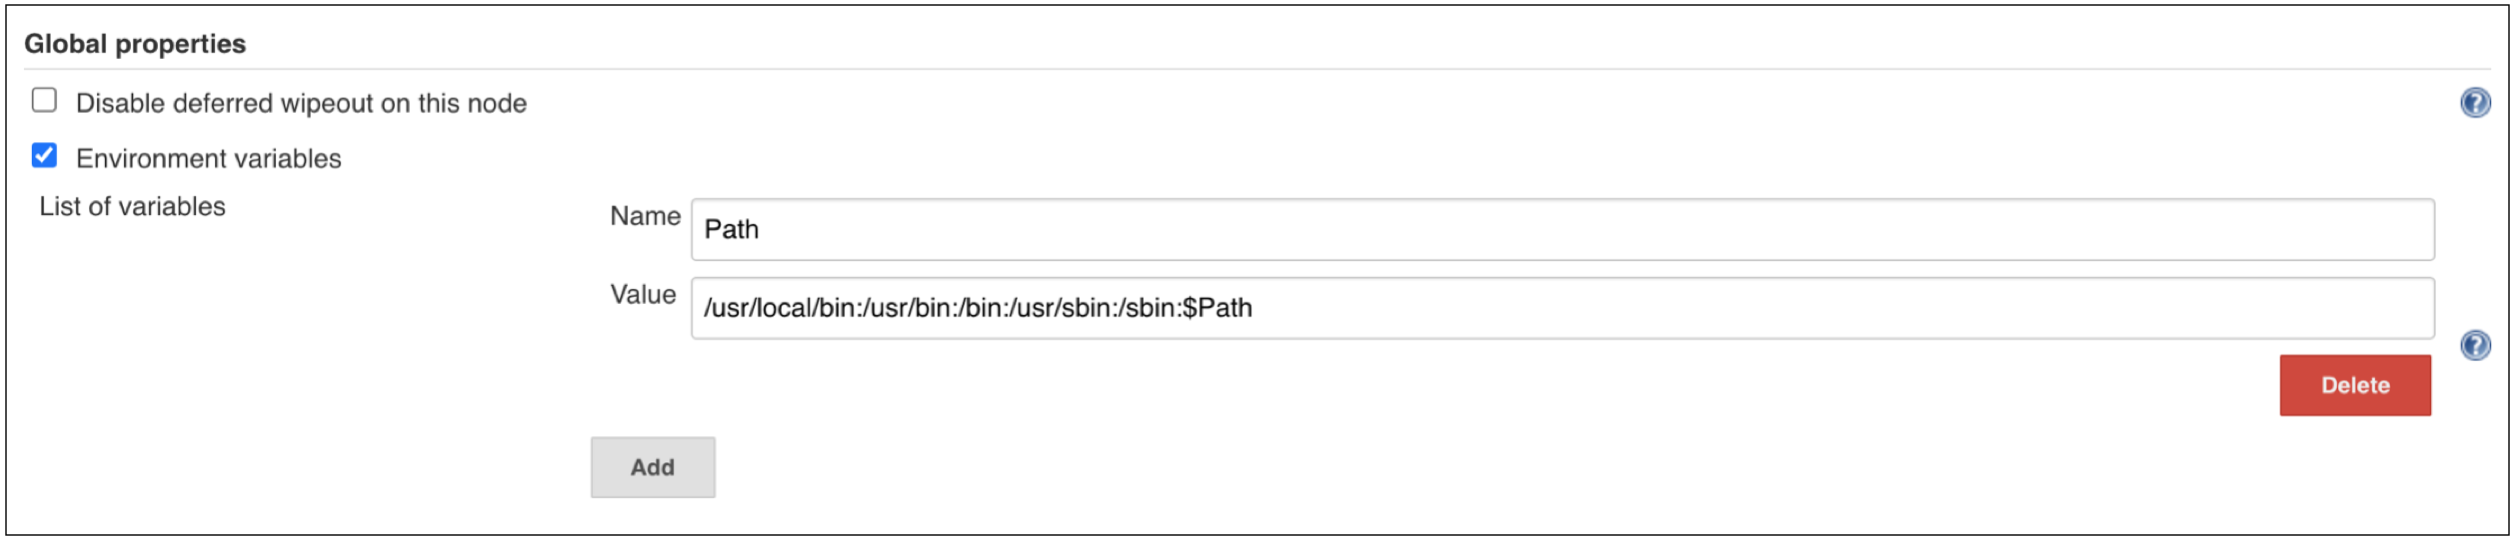
Then under “Manage Jenkins” > “Configure System” > “Global properties” > “Environment Variables” add the PATH variable to point to where the docker command is installed on your machine. For e.g. on my machine it was located at /usr/local/bin.
We can now create a new job that will connect to our GitHub repository and create our CI/CD pipeline for our Android project.
JOB SETUP
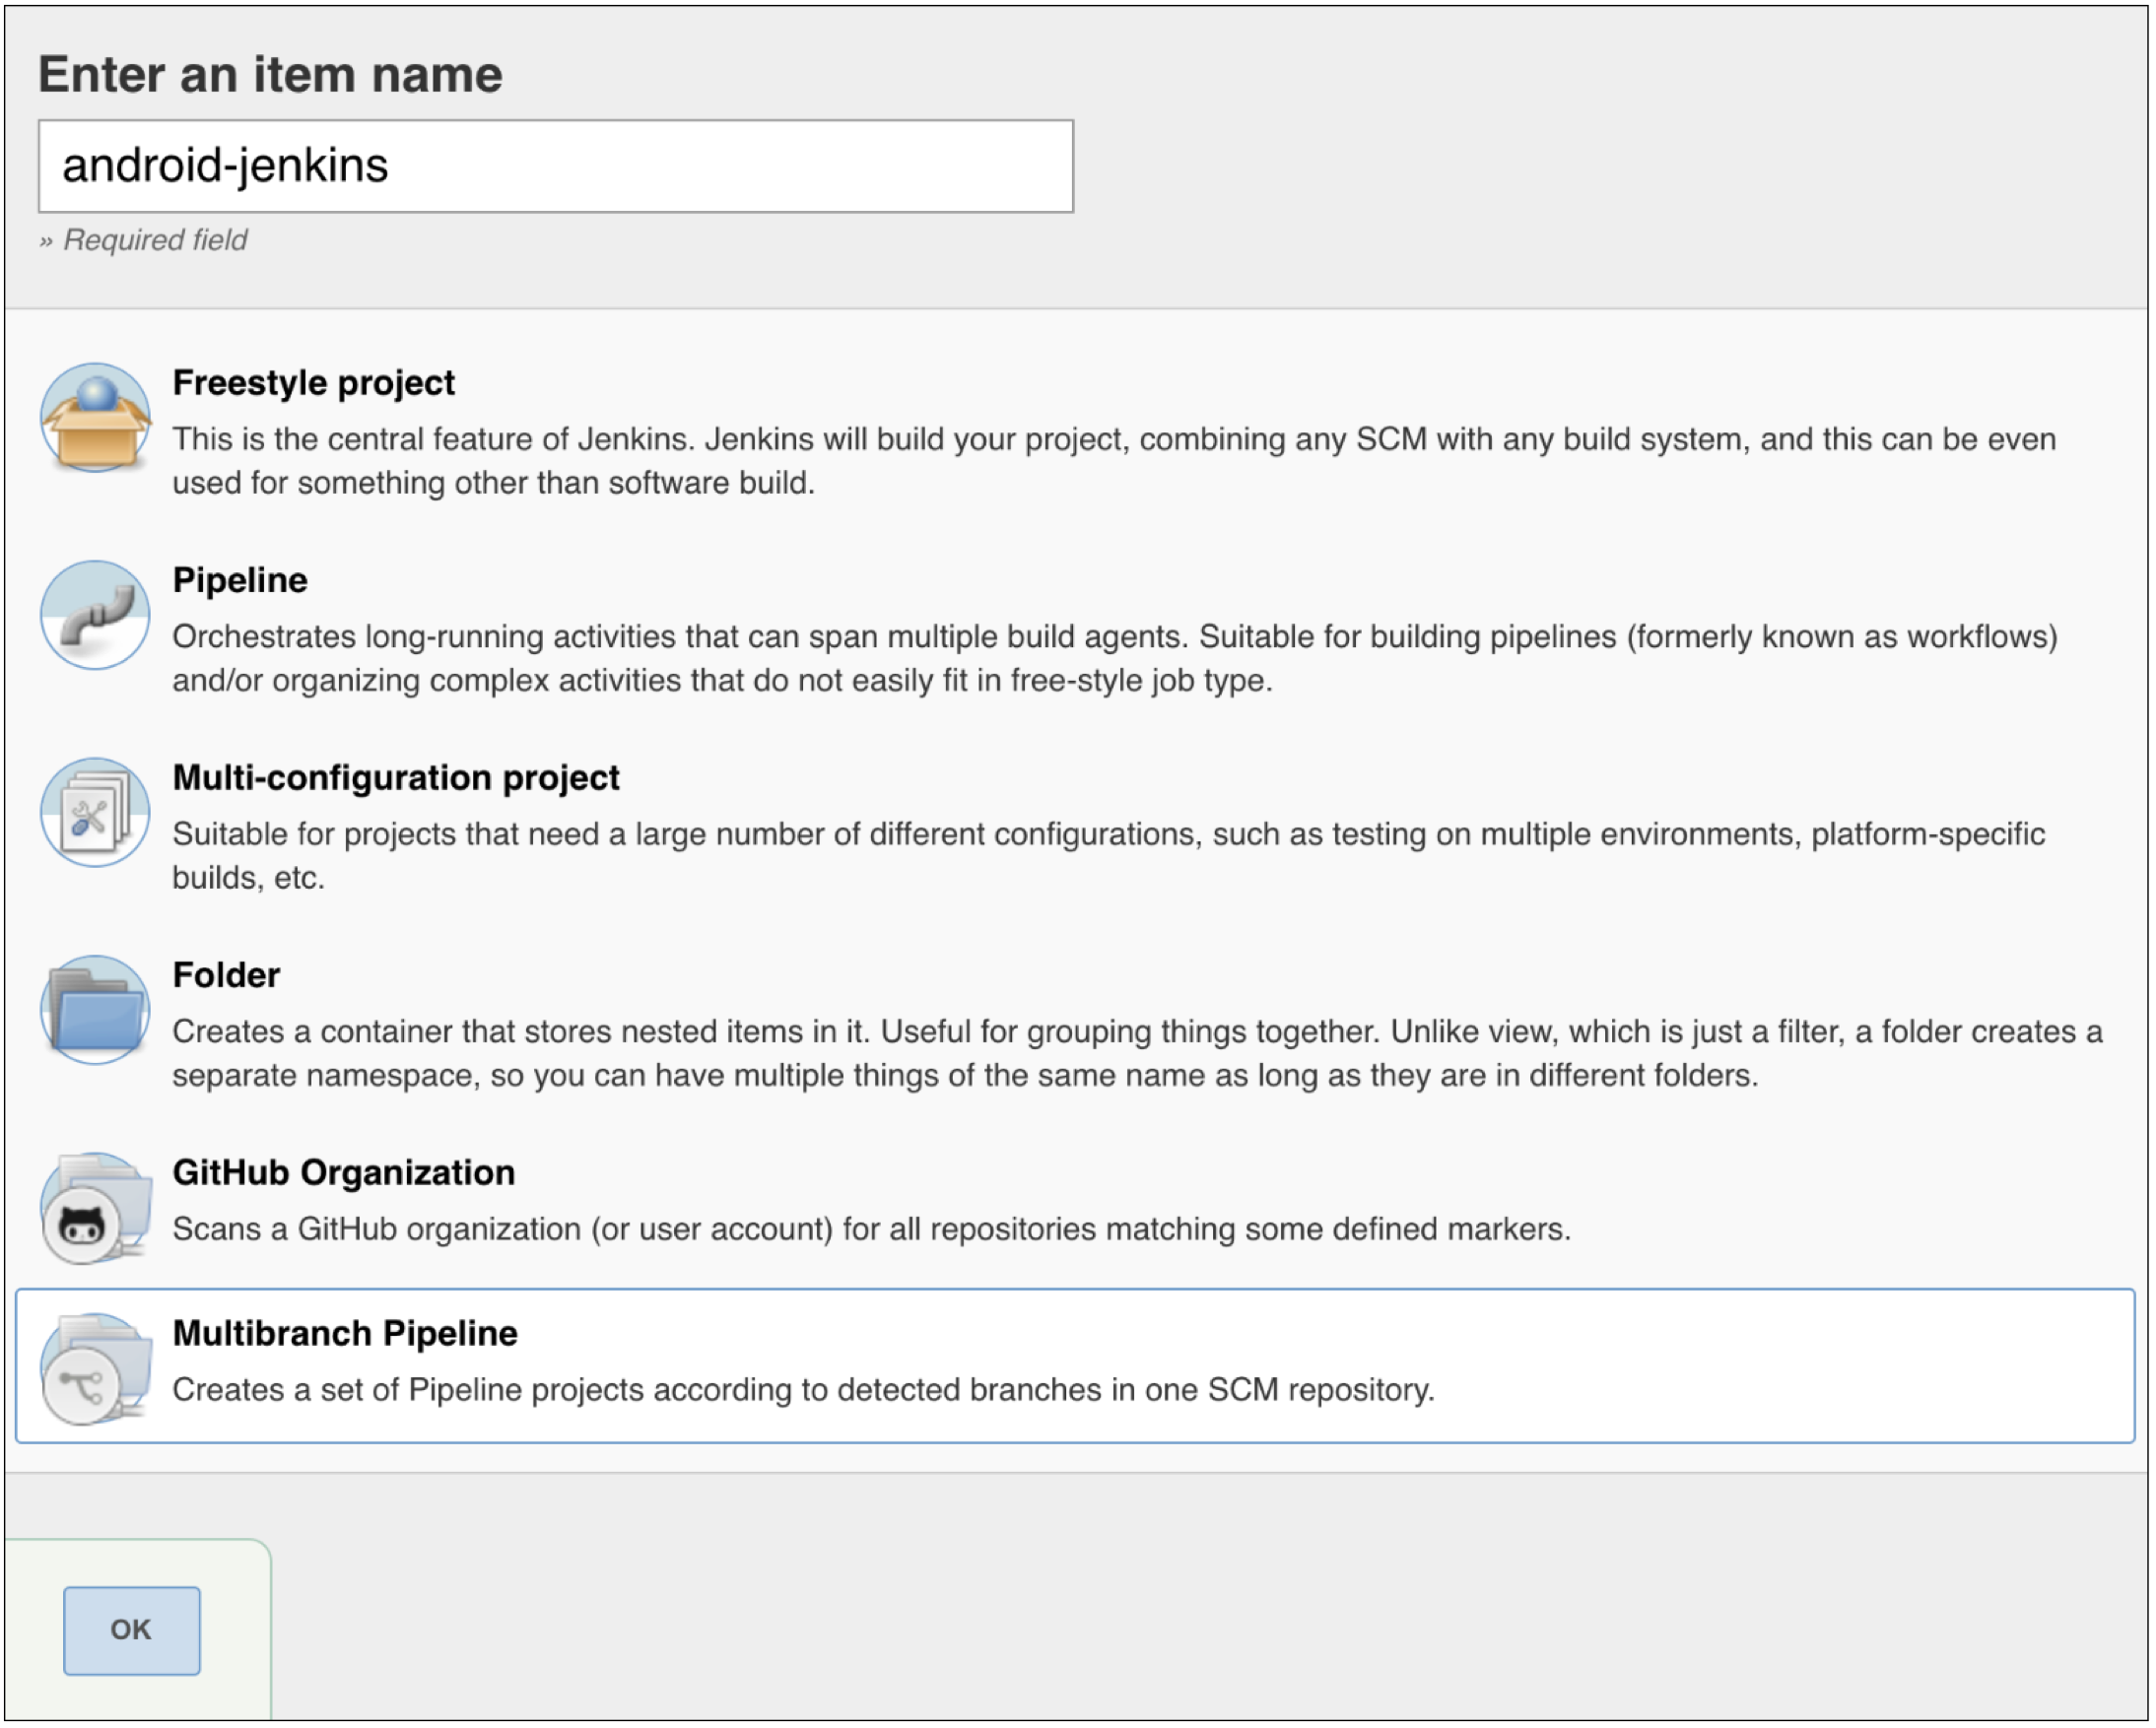
Select “New Item” in the left-hand menu to create a new job. On the following screen, enter a name for the job and select “Multibranch Pipeline”:
Once the job is created, add a new source, our source will be the Android GitHub repository:
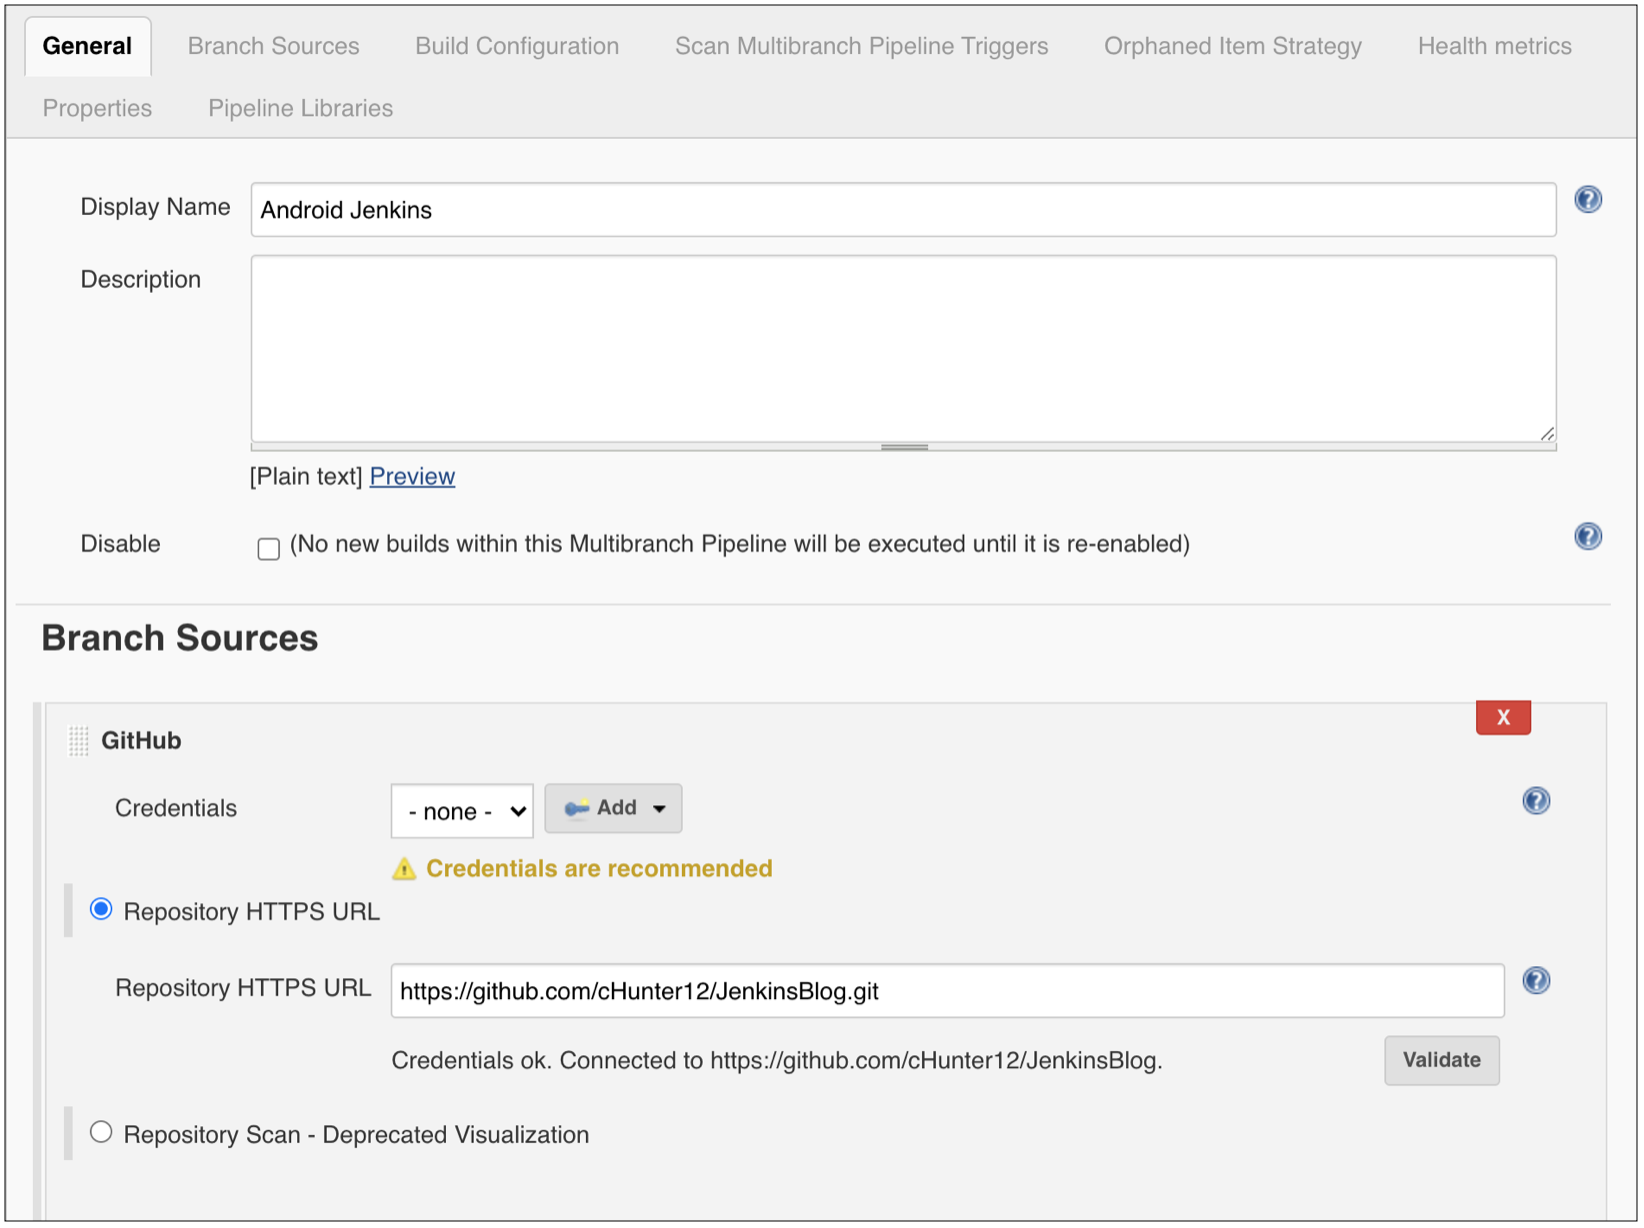
Copy the GitHub repository in. It is recommended to add credentials that allow access to your repository, this will be required if your repository is private. Click “Add” and select the name of your job as the scope. In the dialog that pops up ensure that “Username with password” is selected from the dropdown and enter in something for the username. For the password we will use a Personal Access Token from GitHub as authentication by password is being deprecated.
On GitHub navigate to Settings > Developer Settings > Personal Access Tokens and create a new access token with the scopes of “repo” and “admin:repo_hook”.
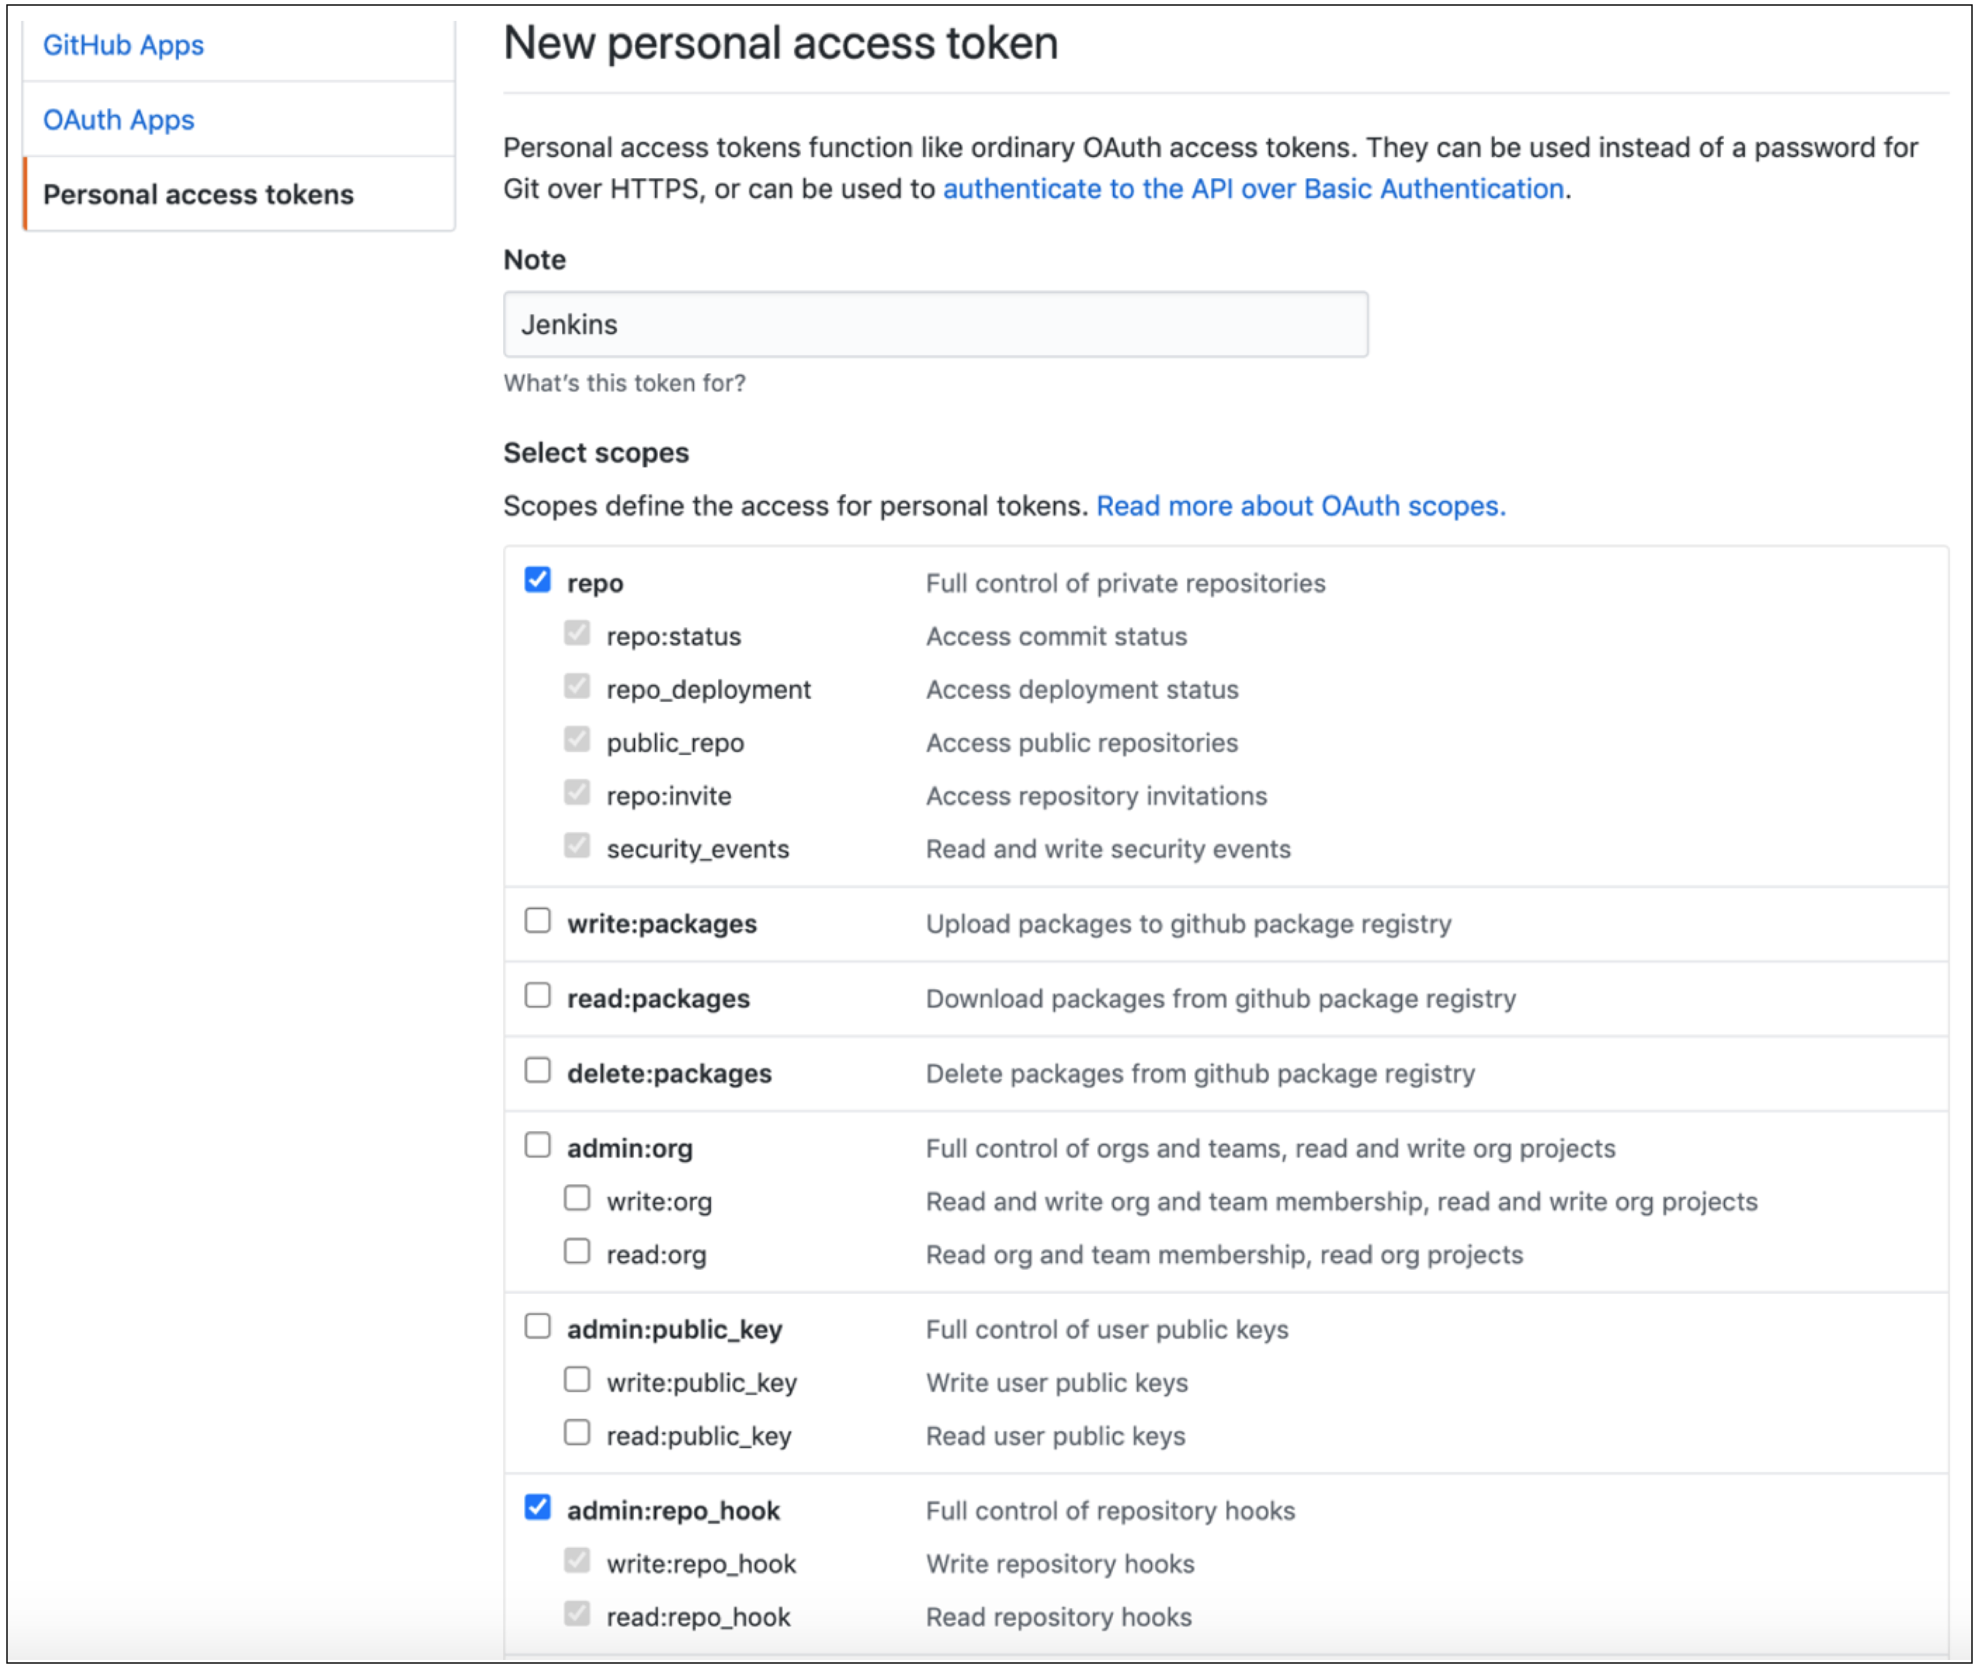
ONCE THE TOKEN IS GENERATED, MAKE SURE YOU COPY IT!
After you leave the page you will no longer be able to access the token. Use this token as the password for your credentials and give it a meaningful ID. Once you save the credentials, use it as the credentials for the source, use the “Validate” button to ensure Jenkins will be able to access your repository.
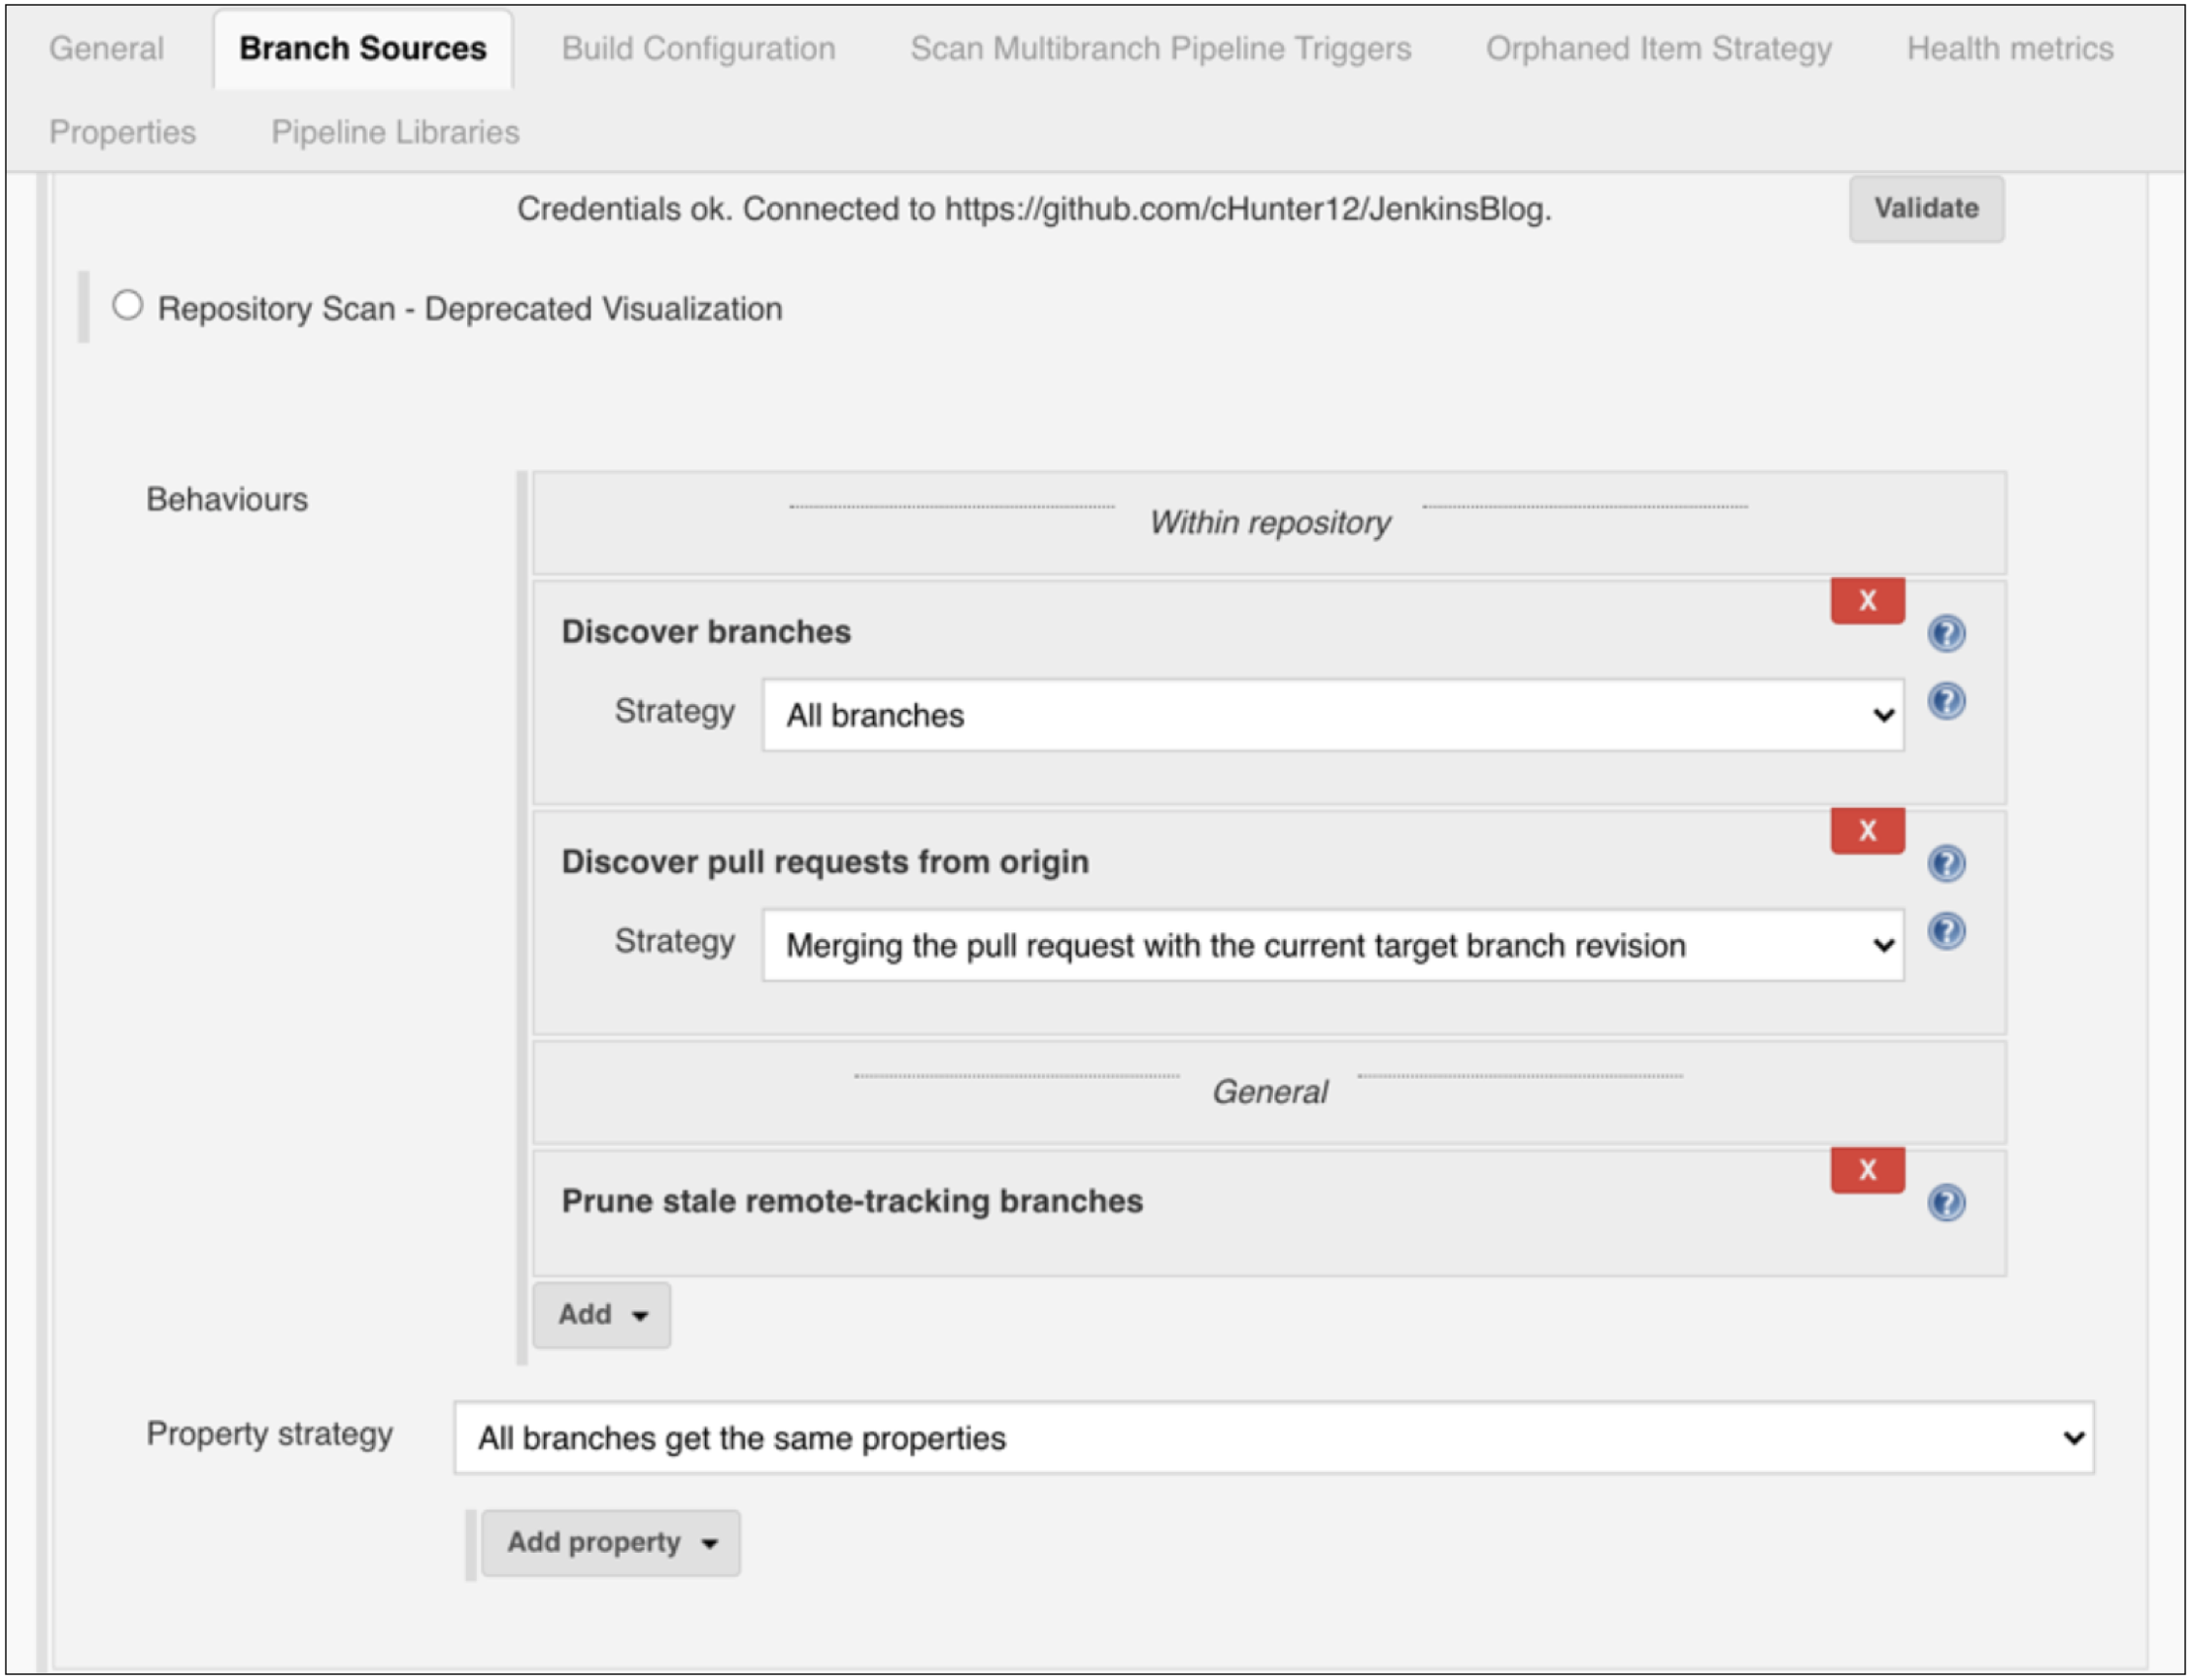
Next add the following behaviors and ensure that the “Build Configuration” is set to “by Jenkinsfile”:
As we are running this Jenkins instance locally, we will need to also enable “Scan Repository Triggers” to be able to detect any code that is pushed or new PRs being created. If you are running Jenkins on a cloud platform such that it is reachable across the internet, you can create a webhook on your GitHub repository to notify Jenkins when these events happen:

Hit the “Save” button and your job will be created!
CONCLUSION
We now have our Jenkins job created and ready to start receiving events from our GitHub repository. In the next part of this blog series we will look at creating the pipeline for our Android application. We will cover the Jenkins configuration file that informs Jenkins of the actions to perform at each stage of the pipeline and the Docker configuration file that will be used to create the container that our pipeline will be run in.
DEVELOPING SOFTWARE AT UNOSQUARE
When you partner with Unosquare, you’ll have access to skilled software development professionals, Business Analysts, SCRUM Masters, Quality Assurance Engineers, and all the ancillary roles for delivery of your strategy. Each of us at Unosquare is directly accessible to your project stakeholders. We also live and work in your time zone and have the support and training from one of the world’s best global software development companies. If you’d like to read more of our technical blog posts or about how we can help you accelerate your digital transformation projects, check out our blog.