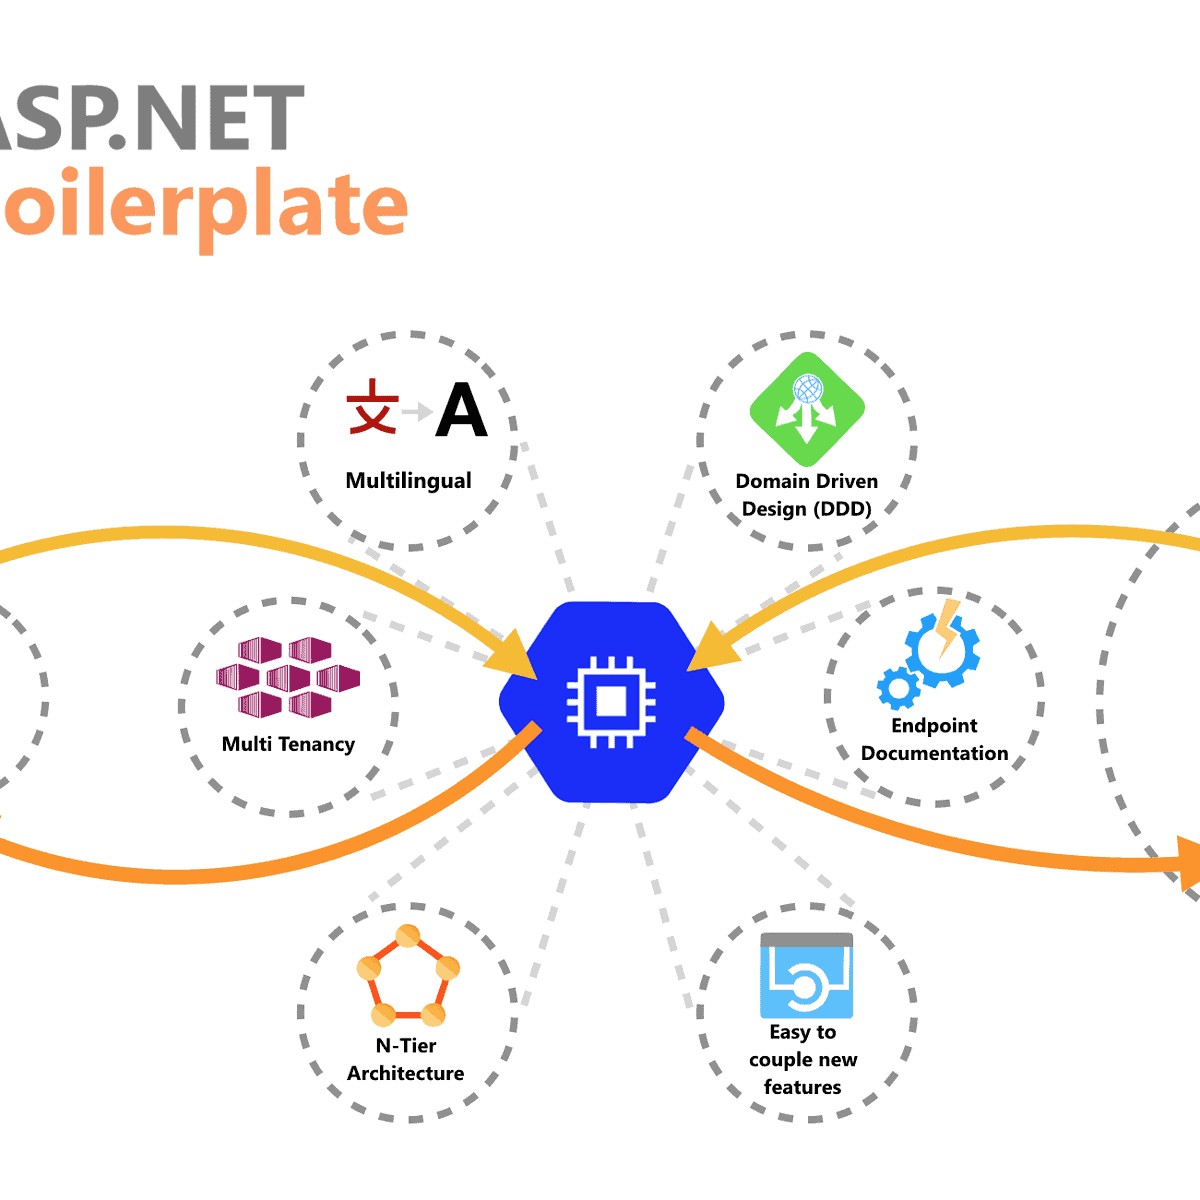
Hopefully, as a reader of our blog, you have had the chance to take a look at some of our previous posts that we have published for our development colleagues. We have a review of Apache Kafka and series on building a RESTFul API & UI Apps with Java. In this post, we are looking to help reduce time working with ASP.NET Boilerplate.
For our exercise, consider the following features and ask yourself how much time you think it would take to architect a .NET Web Application…
- Multi-Tenancy
- Layered Architecture
- Domain Driven Design
- Multilingual
- SPA for UI/UX
- Well-Documented
Now, we’ll assume that you have given this some thought, but can’t come up with a number just yet. So, let’s define some features and dig into how they apply to our scenario.
What does Multi-Tenancy mean?
The wikipedia definition is that “Software multi-tenancy is an architecture approach where a single application running on a server is providing the same service to N quantity of tenants. A single tenant can be interpreted as a group of users who can share common data between them. With a multiple tenant architecture, a single instance can manage different tenants sharing the same database structure, configuration, and user management but not the same data.”
In essence, we are dealing with the principles of SaaS (Software as a Service).
How do we define Layered Architecture?
One of the principles of DDD architecture is keeping the domain layer as the core of the rest of the layers. A domain layer does not depend on any library and more commonly is featured by having the model classes. You can imagine DDD as a cell where the core is a precise domain layer and then the rest have been outer coupled.
There are four fundamental layers in Domain Driven Design (DDD), which are listed below under hierarchy order:
- Domain Layer: The heart of the application that includes business objects and their rules
- Infrastructure Layer: Provides generic technical capabilities that support higher layers using 3rd party libraries
- Application Layer: Mediates between the Presentation and the Domain Layers. It orchestrates business objects to perform specific application tasks
- Presentation Layer: Provides and interface to the user and uses the Application Layer to achieve user interactions
Have we figured out how much time yet?
Not at this point, and it’s not necessary to use a stop watch to figure out how much relative time you’ll have saved by following these steps the next time you build and App from scratch. But, I will give you an idea of how much time it will take with some experience, later on.
I want to provide some context around why I’m so confident that this post is going to help you and how I stumbled upon this process. I had been doing research about multi-tenancy and best practices for application architectures and found an amazing tool called “ASP.NET Boilerplate“. It became apparent that this tool allows you to create a very cool web applications, quickly and efficiently. I was surprised at its simplicity when I started working with it and it’s basically filling in a couple of fields, downloading a simple .zip file, running a migration. That’s pretty much it.
And, in my experience…using the features listed above…this takes just about 5 minutes to complete.
The tool even lets you choose from among different front-end frameworks (Angular, Vue.js, React) or you can create a multi-page web application which uses MVC pattern.
Now it’s time to demonstrate how this works. I don’t think that you’ll find that the workflow is too complicated and following it step-by-step will increase your confidence in creating a Web App with .NET Boilerplate
The Process
Start by following this link: https://aspnetboilerplate.com/Templates
1. Scroll down until you see the “Free Startup Templates” section:
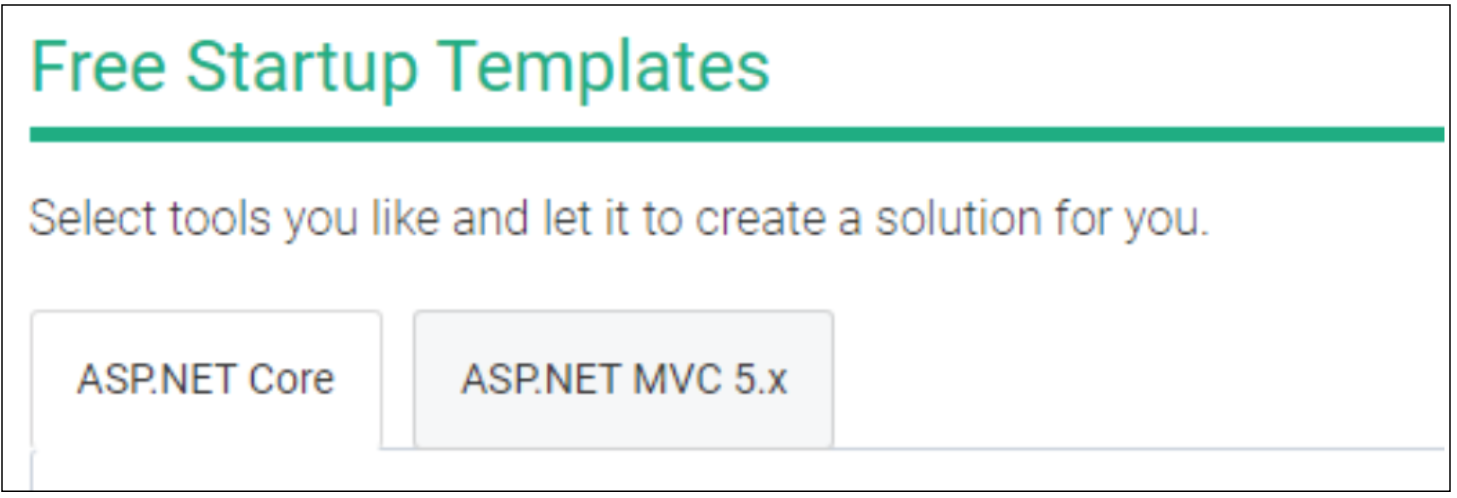
2. Choose the ASP.NET version you have installed on your machine (ASP.NET Core in my case)

3. Fill required fields and hit “Create my project!” which will download a .zip file
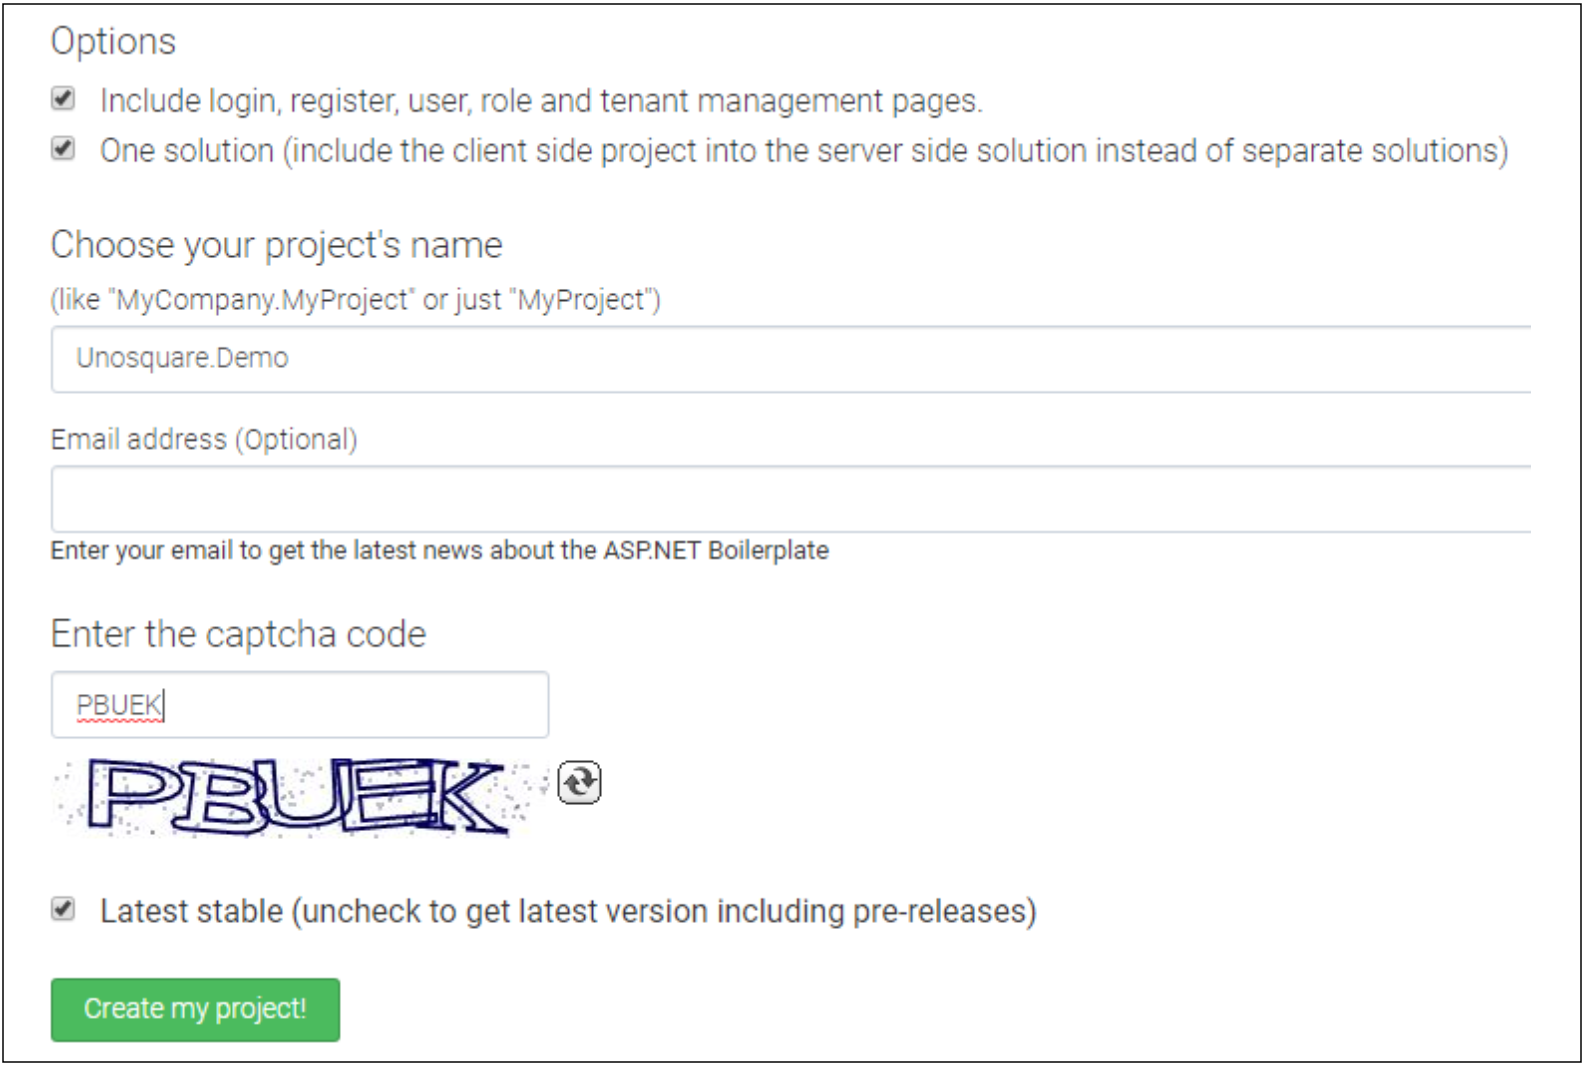
- NOTE: Before you do anything with the zip file, be sure you have all pre-requisites installed successfully on your machine. Using my set-up as the guide, I have installed ASP.NET Core + Angular Template and the requirements are:
- Visual Studio 2017 v15.3.5
- ASP.NET Core 3.0
- Node.js 6.9+ npm 3.10+
- Typescript 2.0+
- Angular CLI (optional)
Time to see how our new project is built…
Keeping things simple for a new solution that has 7 different projects, we are going to focus on three:
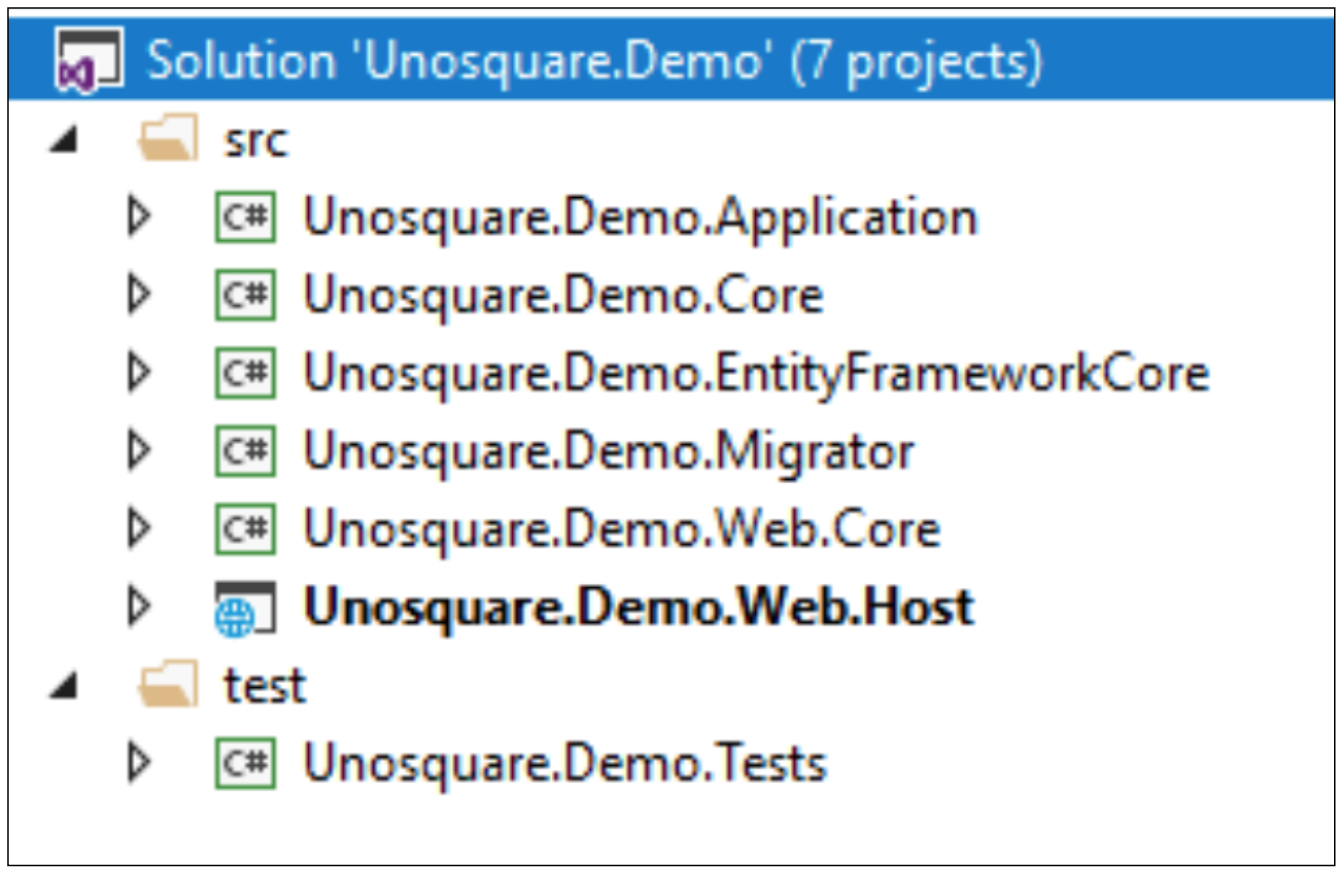
- Unosquare.Demo.Core: This is our more important Tier on the Solution. It is where our model classes live and it is the unique project that is not dependent on the the other, that is why it uses the “.Core” suffix.
- Unosquare.Demo.Application: I would define this Tier as our Business Logic project. This is where you should develop any data calculations, CRUD operations, call stored procedures, and deny or allow access according to specific roles or permissions.
- Unosquare.Demo.Web.Host: Last but not least our Interface project, where all our Endpoints and, at least for this demo, our SPA live.
Launch the Rocket
This is no more complicated than any project; it is just a matter of cleaning, restoring, running migration, and running the project.
What follows is each step you need:
1. Open your solution in Visual Studio 2017 v15.3.5+
2. Clean the solution and restore all the packages:

3. Build the solution
4. Select the ‘Web.Host‘ project as the startup project
5. Check the connection string in the appsettings.json file of the Web.Host project and change if you need to
6. Open the Package Manager Console and run an Update-Database command to create your database:
NOTE: Ensure that the Default project is selected as .EntityFrameworkCore in the Package Manager Console window

7. Run the application. It will show “swagger-ui” if it has been run successfully…
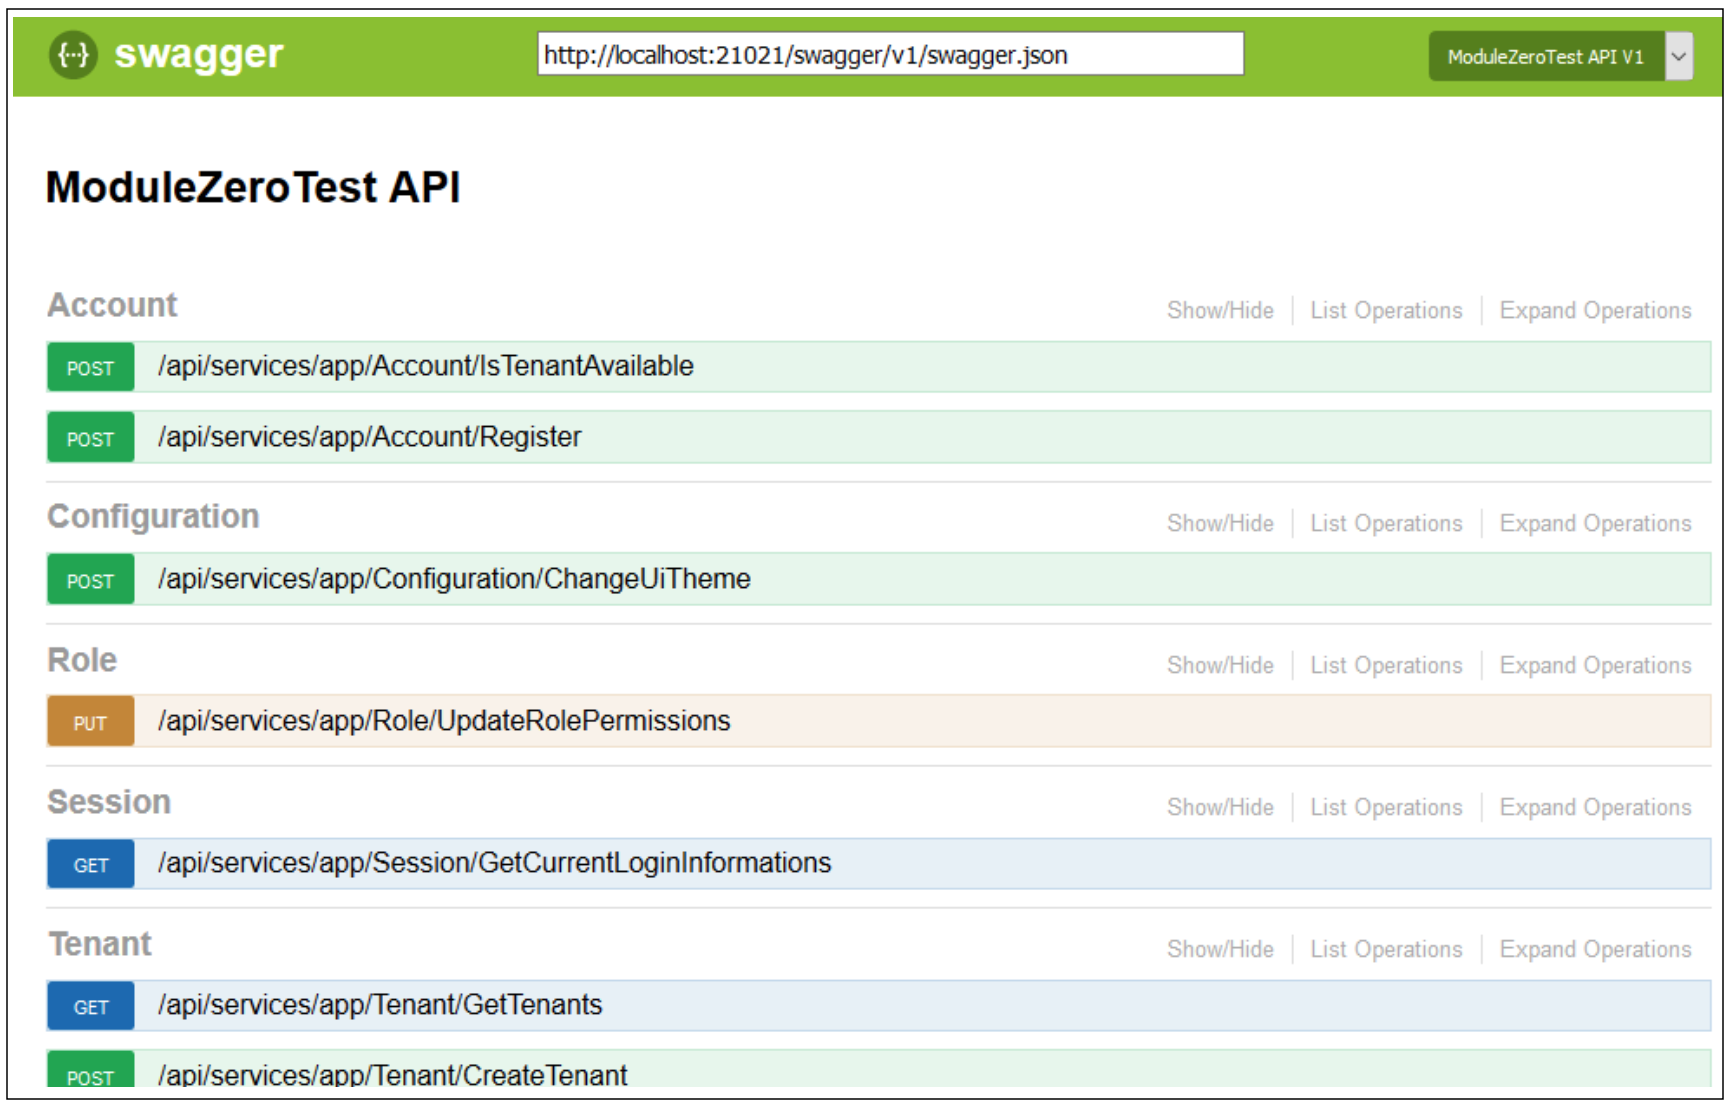
You will be able to see how well documented endpoints are displayed on this site which are testable from the exact same place. Similar to other Controllers, the new Group of Endpoints will appear here automatically, keeping to our earlier promise of this being a simple process.
What do you think so far?
Well, we haven’t finished yet. Let’s switch to the front-end side of things. Once you have your prerequisites installed on your local machine, follow the steps below:
1. Open a command prompt, navigate to the Angular folder which contains the *.sln file and run the following command to restore the npm: “npm install“
2. In your opened command prompt, run the following command: “npm start“
3. Go to http://localhost:4200 in your browser and you will see a login page like the following:
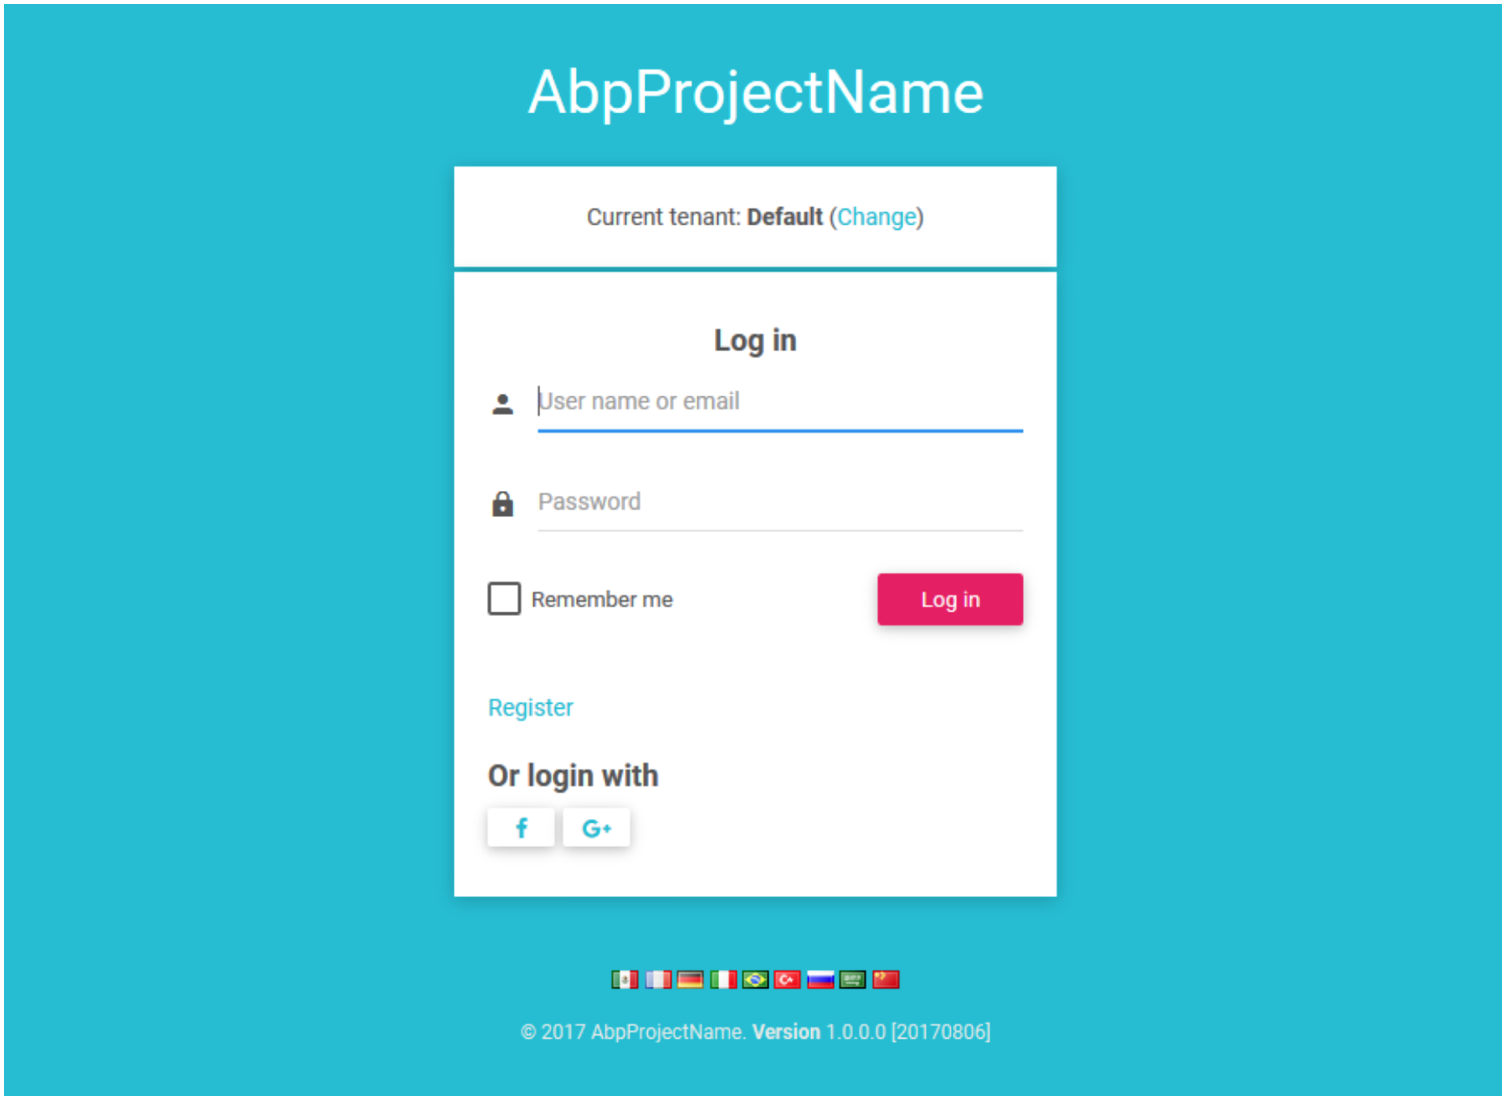
4. use username ‘admin’ and the password ‘123qwe’ to get logged into your Dashboard application
Keep in Mind…
This time saving tool is made by third-party developers, so it may be the case that implementing new code, layer, or any other complex feature could be difficult at first. I recommend that you read the documentation before actually coding something completely new so you are not surprised by an existing implementation.
If you are not interested in getting the entire suite, you can download a bunch of NuGet packages
In Summary…
Enjoy your new blank project and have fun being creative with it. If you have some questions about my experience with Boilerplate you can look at the current documentation here:
https://aspnetboilerplate.com/Pages/Documents
And for sure you can always contact me personally:
Enjoy developing with ASP.NET Boilerplate and thanks for reading!
